I am happy that in my state I can buy raw milk and cream. After tasting raw milk the first time I knew I would never be happy drinking pasteurized milk again! The cream is also wonderfully delicious. It isn’t as thick as the ultra-pasteurized heavy whipping cream that I used to buy, but it is luscious and naturally sweet. I can only buy it in half-gallon jugs, though. The ultra-pasteurized stuff will stay good in the fridge for over a month, the raw cream goes off a good bit sooner than that. There’s only so much creme brûlée and ice cream my hubby and I can eat so I had to find another way to use this amazing product.
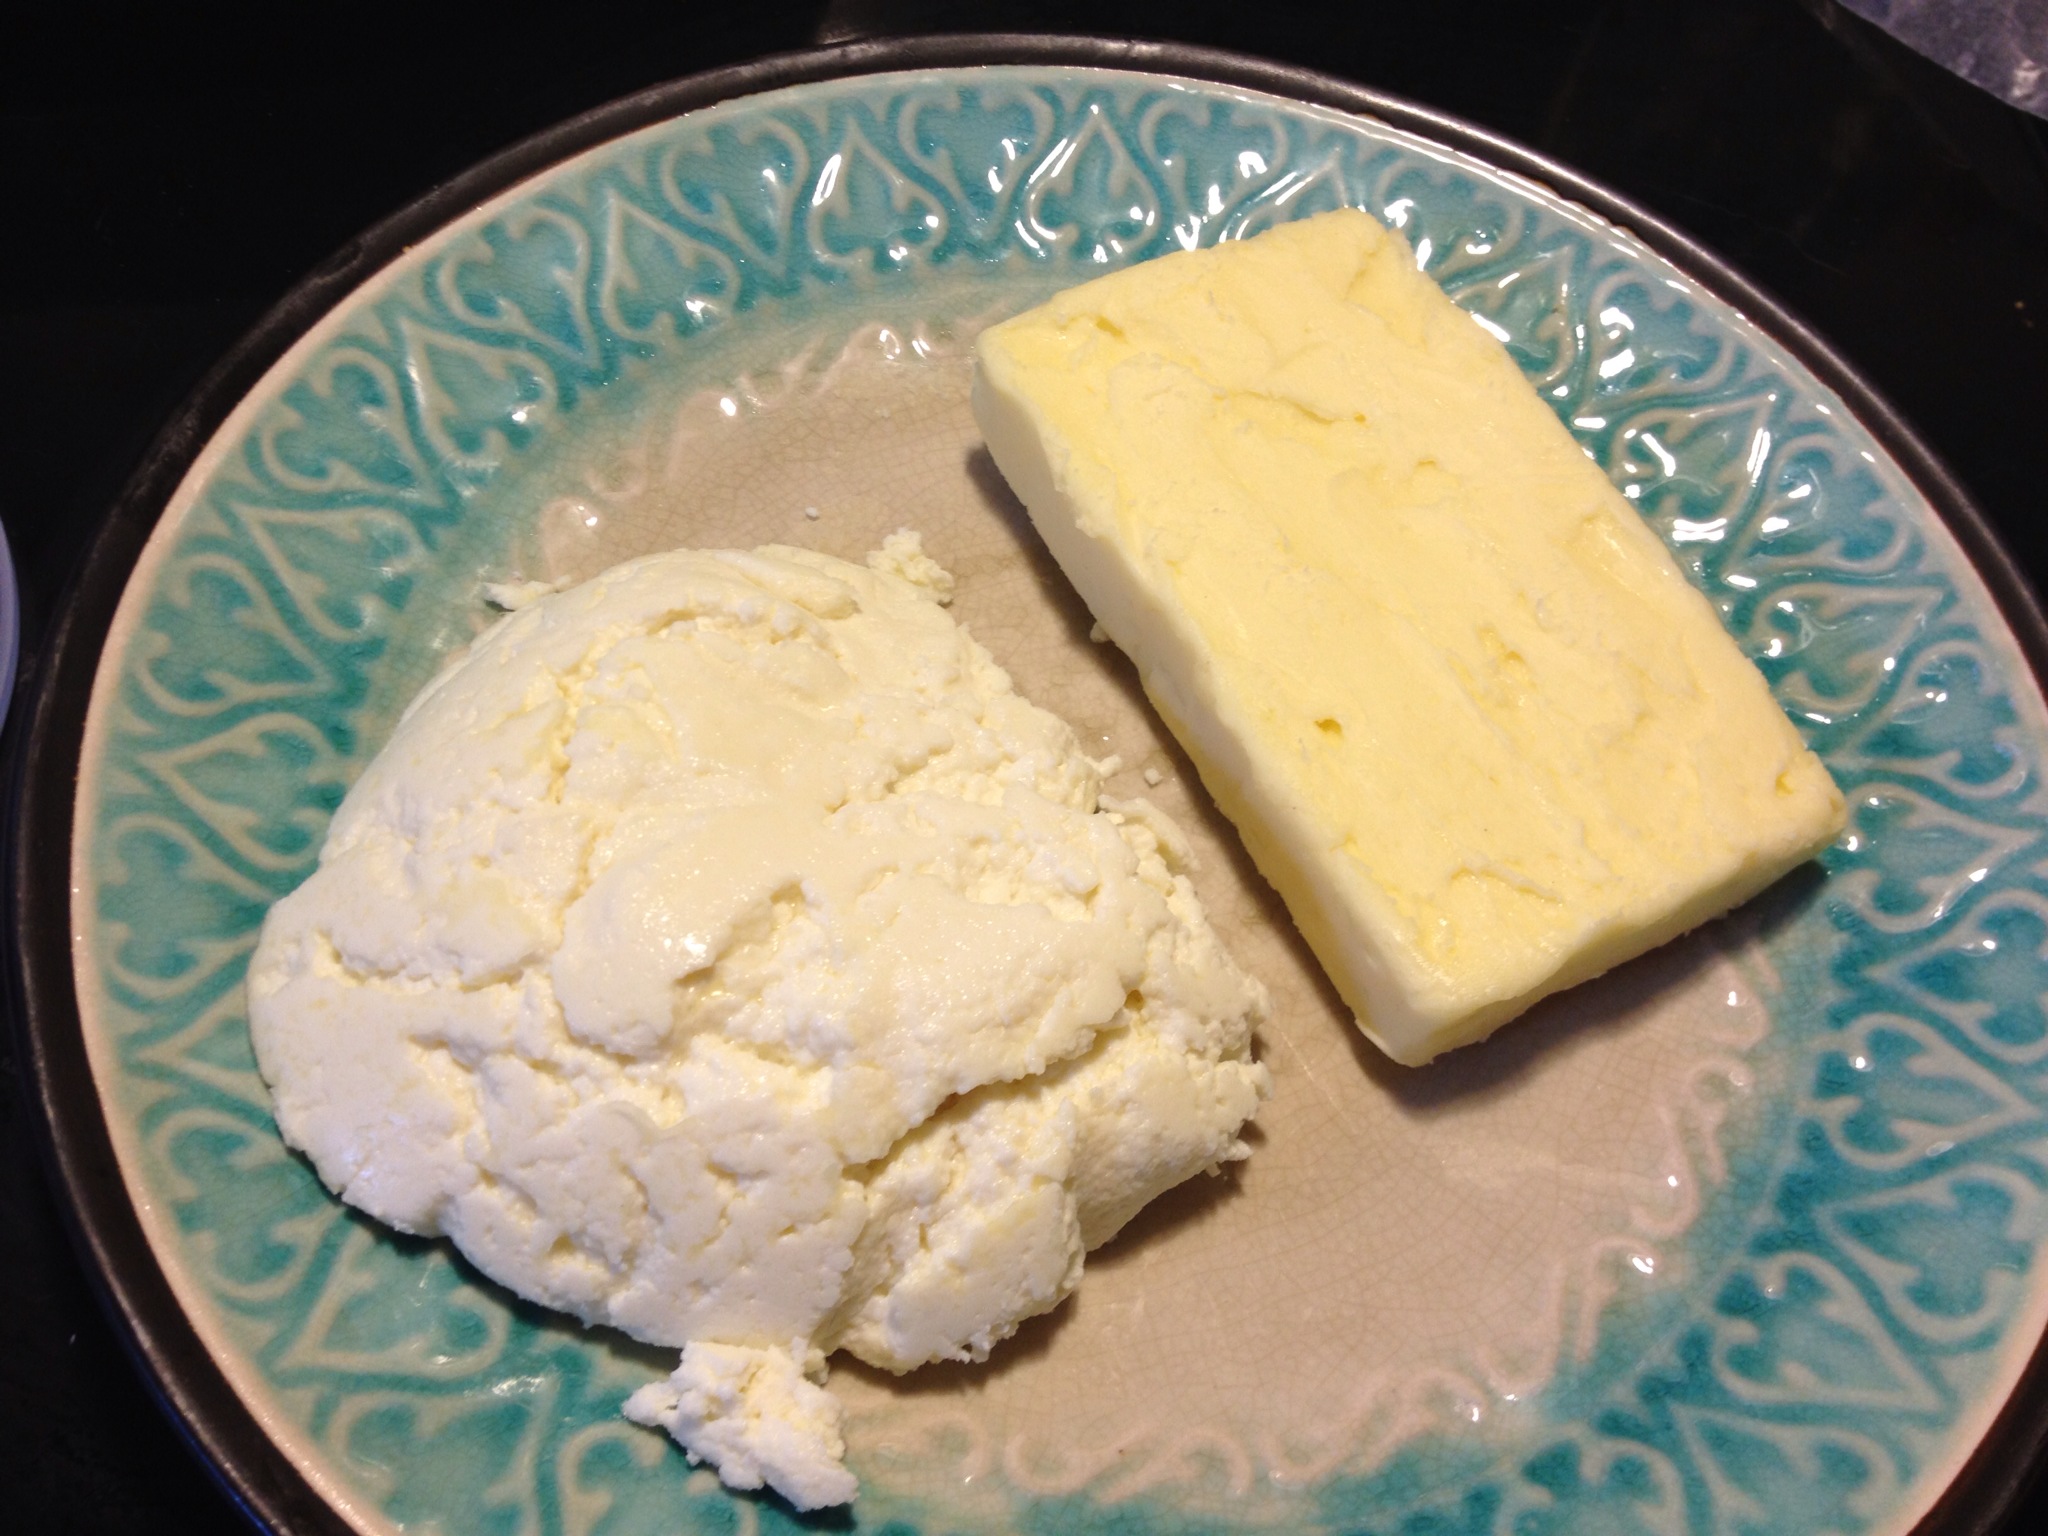
I had seen a pin on Pinterest about making butter in a stand mixer, so I decided to try it. I did some research and found that in some traditional societies, the cream was allowed to go off before making butter out of it. The enzymes released when the cream begins to sour makes digestion easier on us and gives a nice flavor to the butter. So the next time I bought a half-gallon of cream, I let it go sour then put it in my stand mixer, covered it with a towel, set it on high speed and let it go. With the raw cream it took about twenty minutes for it to first turn into whipped cream and then separate into butter and buttermilk.
The buttermilk is not the cultured buttermilk that you can buy in stores – it is true buttermilk. My grandparents and great grandparents always ate cornbread crumbled up in their buttermilk, but I never did like it. But now I know that’s because it was the nasty cultured stuff. Real buttermilk has tiny flecks of butter that melt on your tongue as soon as they touch it. It is amazing! You can save your buttermilk and enjoy drinking it (I made cornbread from scratch and gorged myself on it with my buttermilk for a day or so).
But what if you really aren’t interested in buttermilk? There is another option. You can slowly heat the buttermilk to 180 degrees Fahrenheit (stirring constantly), add about three drops of liquid renet and watch the liquid separate into curds & whey. Line a colander with several layers of cheesecloth or a clean tea towel, set the colander over a bowl and pour the curds & whey into the cheesecloth. Leave the curds to drain for about an hour (less if you want them soft). Save the whey in jars for use later. Add a little salt to the curds and fresh herbs if you like. The cheese is a bit like ricotta, but I ate mine with gluten-free crackers.
I had about 2 1/2 quarts of whey left over. Whey is an amazing liquid! It is highly nutritious (this is where the whey protein many people use in their protein shakes come from). It is also great for food preservation. In Medieval Iceland, it was saved in barrels and fermented for a year or two and drank in lieu of ale. And it is good for the compost if you can’t figure out what else to do with it. I wanted to make lacto-fermented sauerkraut. It is less smelly and easier than traditional fermented sauerkraut.
At my local farmers market I found the most fantastic cabbage. Three of these heads filled a large trash bag and I looked like Santa hauling these babies to my car. I washed and cut the cabbage small enough to fit in my food processor and shredded it into tiny bits.

For Traditional Sour Kraut the ingredients are as follows:
1 head cabbage, shredded
1 Tbsp Kosher salt
4 Tbsp whey
1 Tbsp Caraway Seeds
For Latin American Sour Kraut the recipe is as follows:
1 head cabbage, shredded
1 cup carrots, shredded
1 large onion, quartered and thinly sliced
1 Tbsp Kosher salt
1 Tbsp dried oregano
4 Tbsp whey
1/2 tsp red pepper flakes

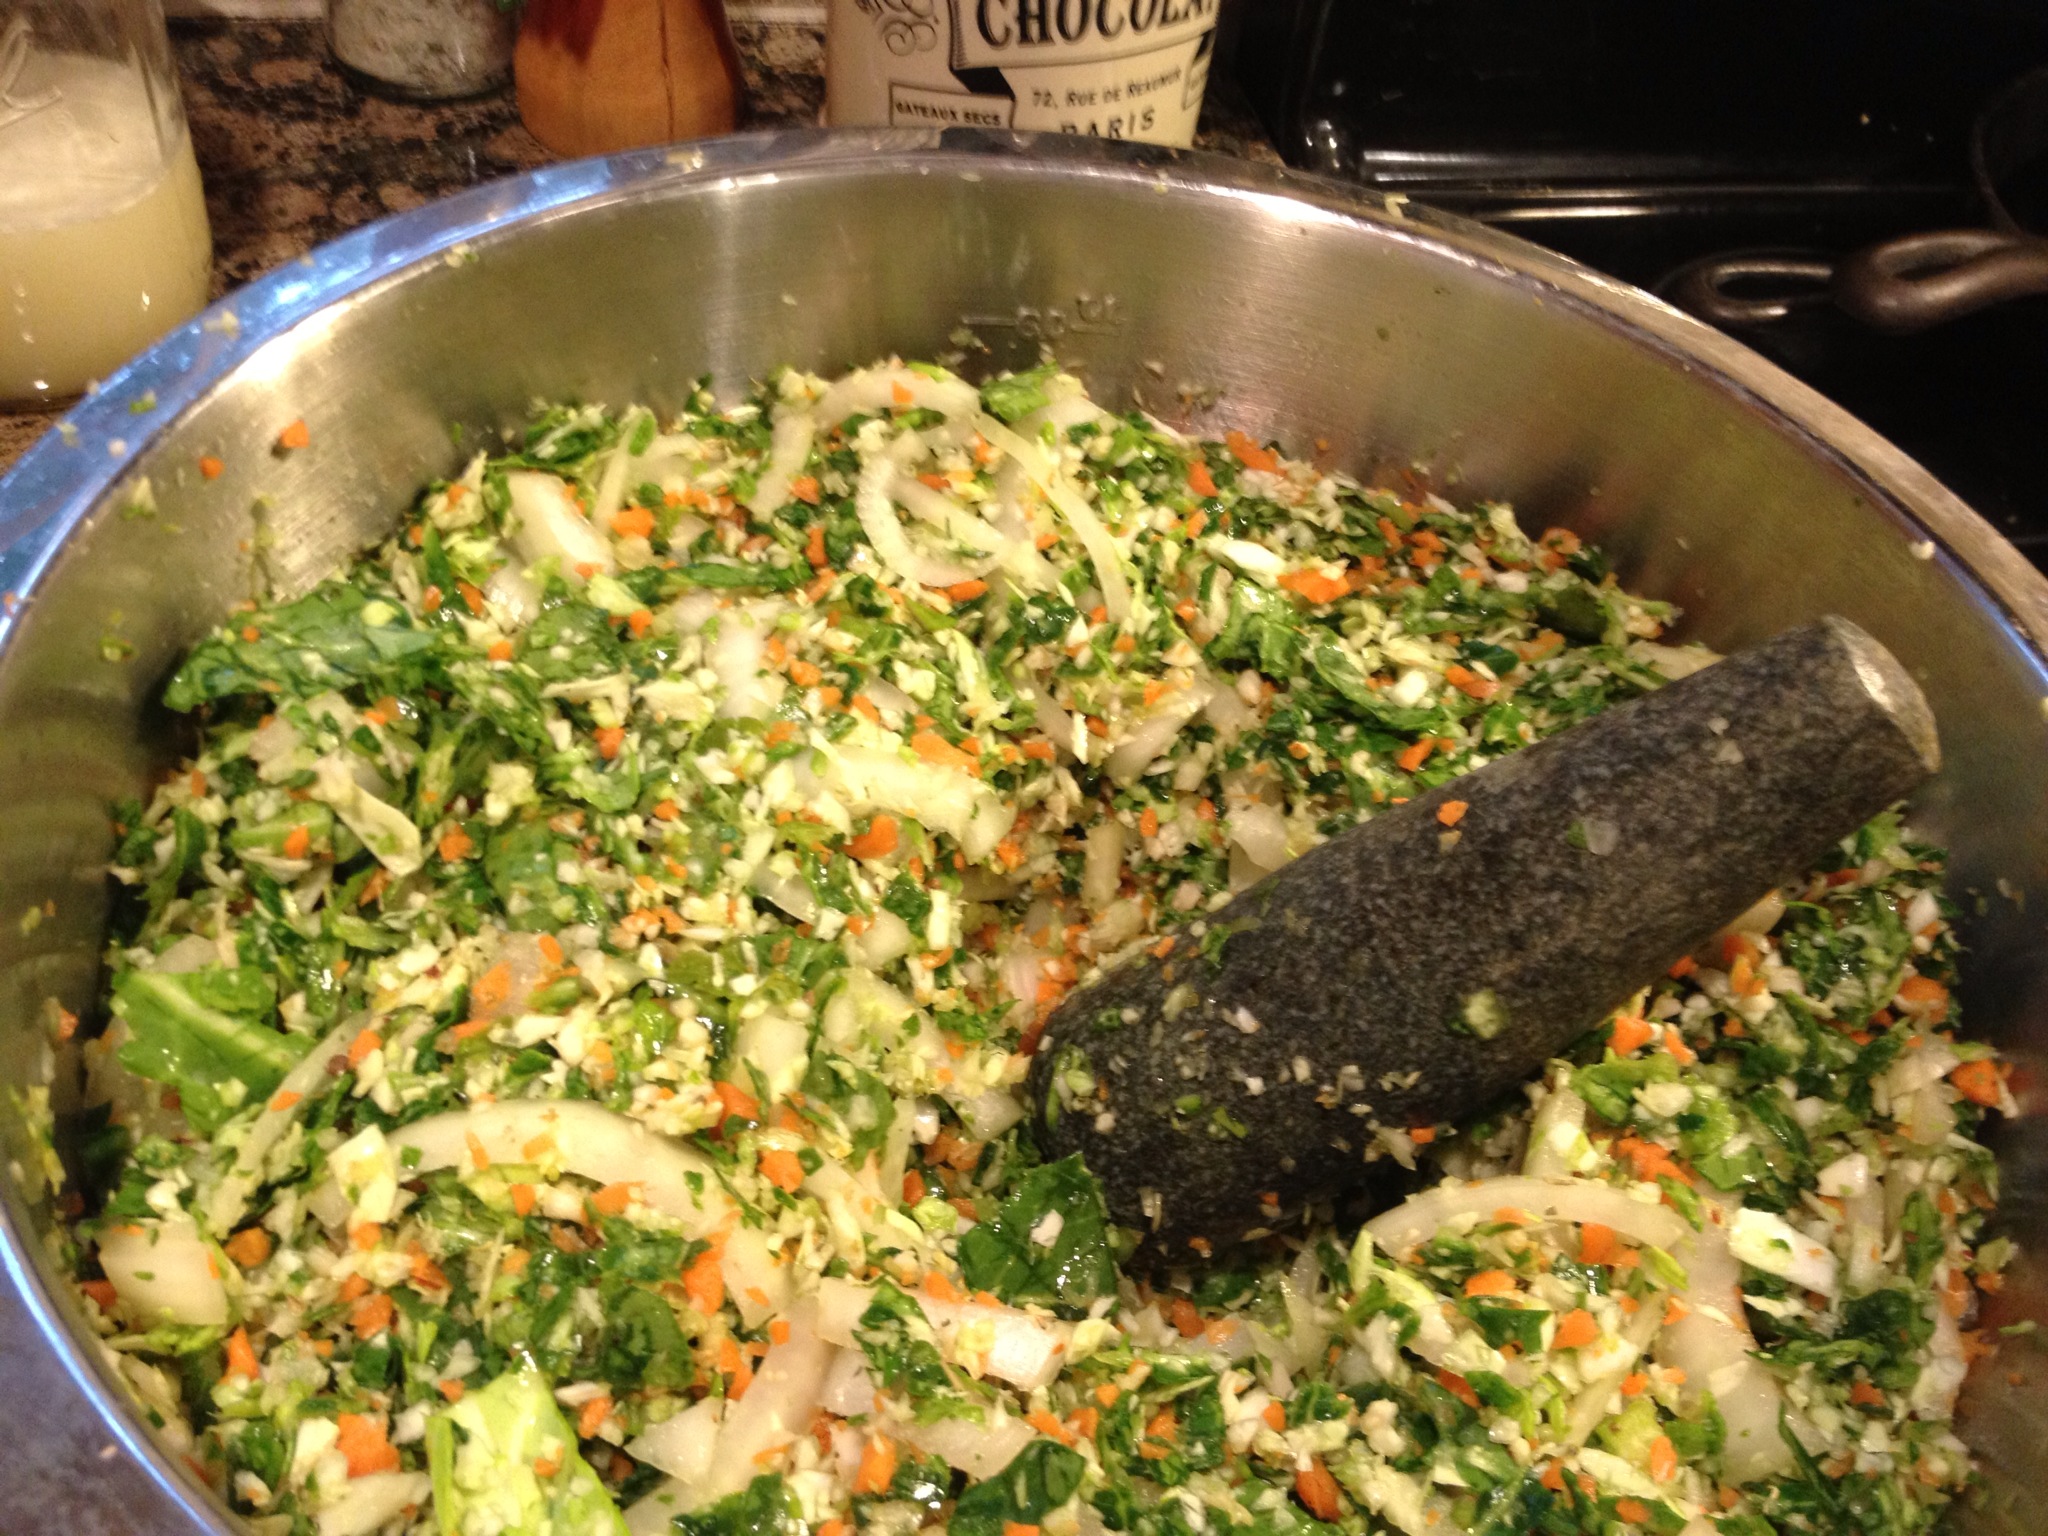
I mixed the ingredients together in a very large bowl (I used a 6 quart bowl) and pounded it with a stone pestal (you can also use a kitchen mallet) till the juices started flowing, about 8-10 minutes. This reduced the cabbage mixture from 6 quarts to 4 quarts.
After my arms were tired, I spooned the kraut into jars. Then push the solids down far enough to let the juice rise above the top. Make sure to leave an inch of empty space at the top. Don’t forget this step!

Leave the jars sitting on your counter at room temperature for three days. After this you can put the jars in the refrigerator. It lasts months in cold storage. Don’t worry about the green juice, it clears up as it ferments.
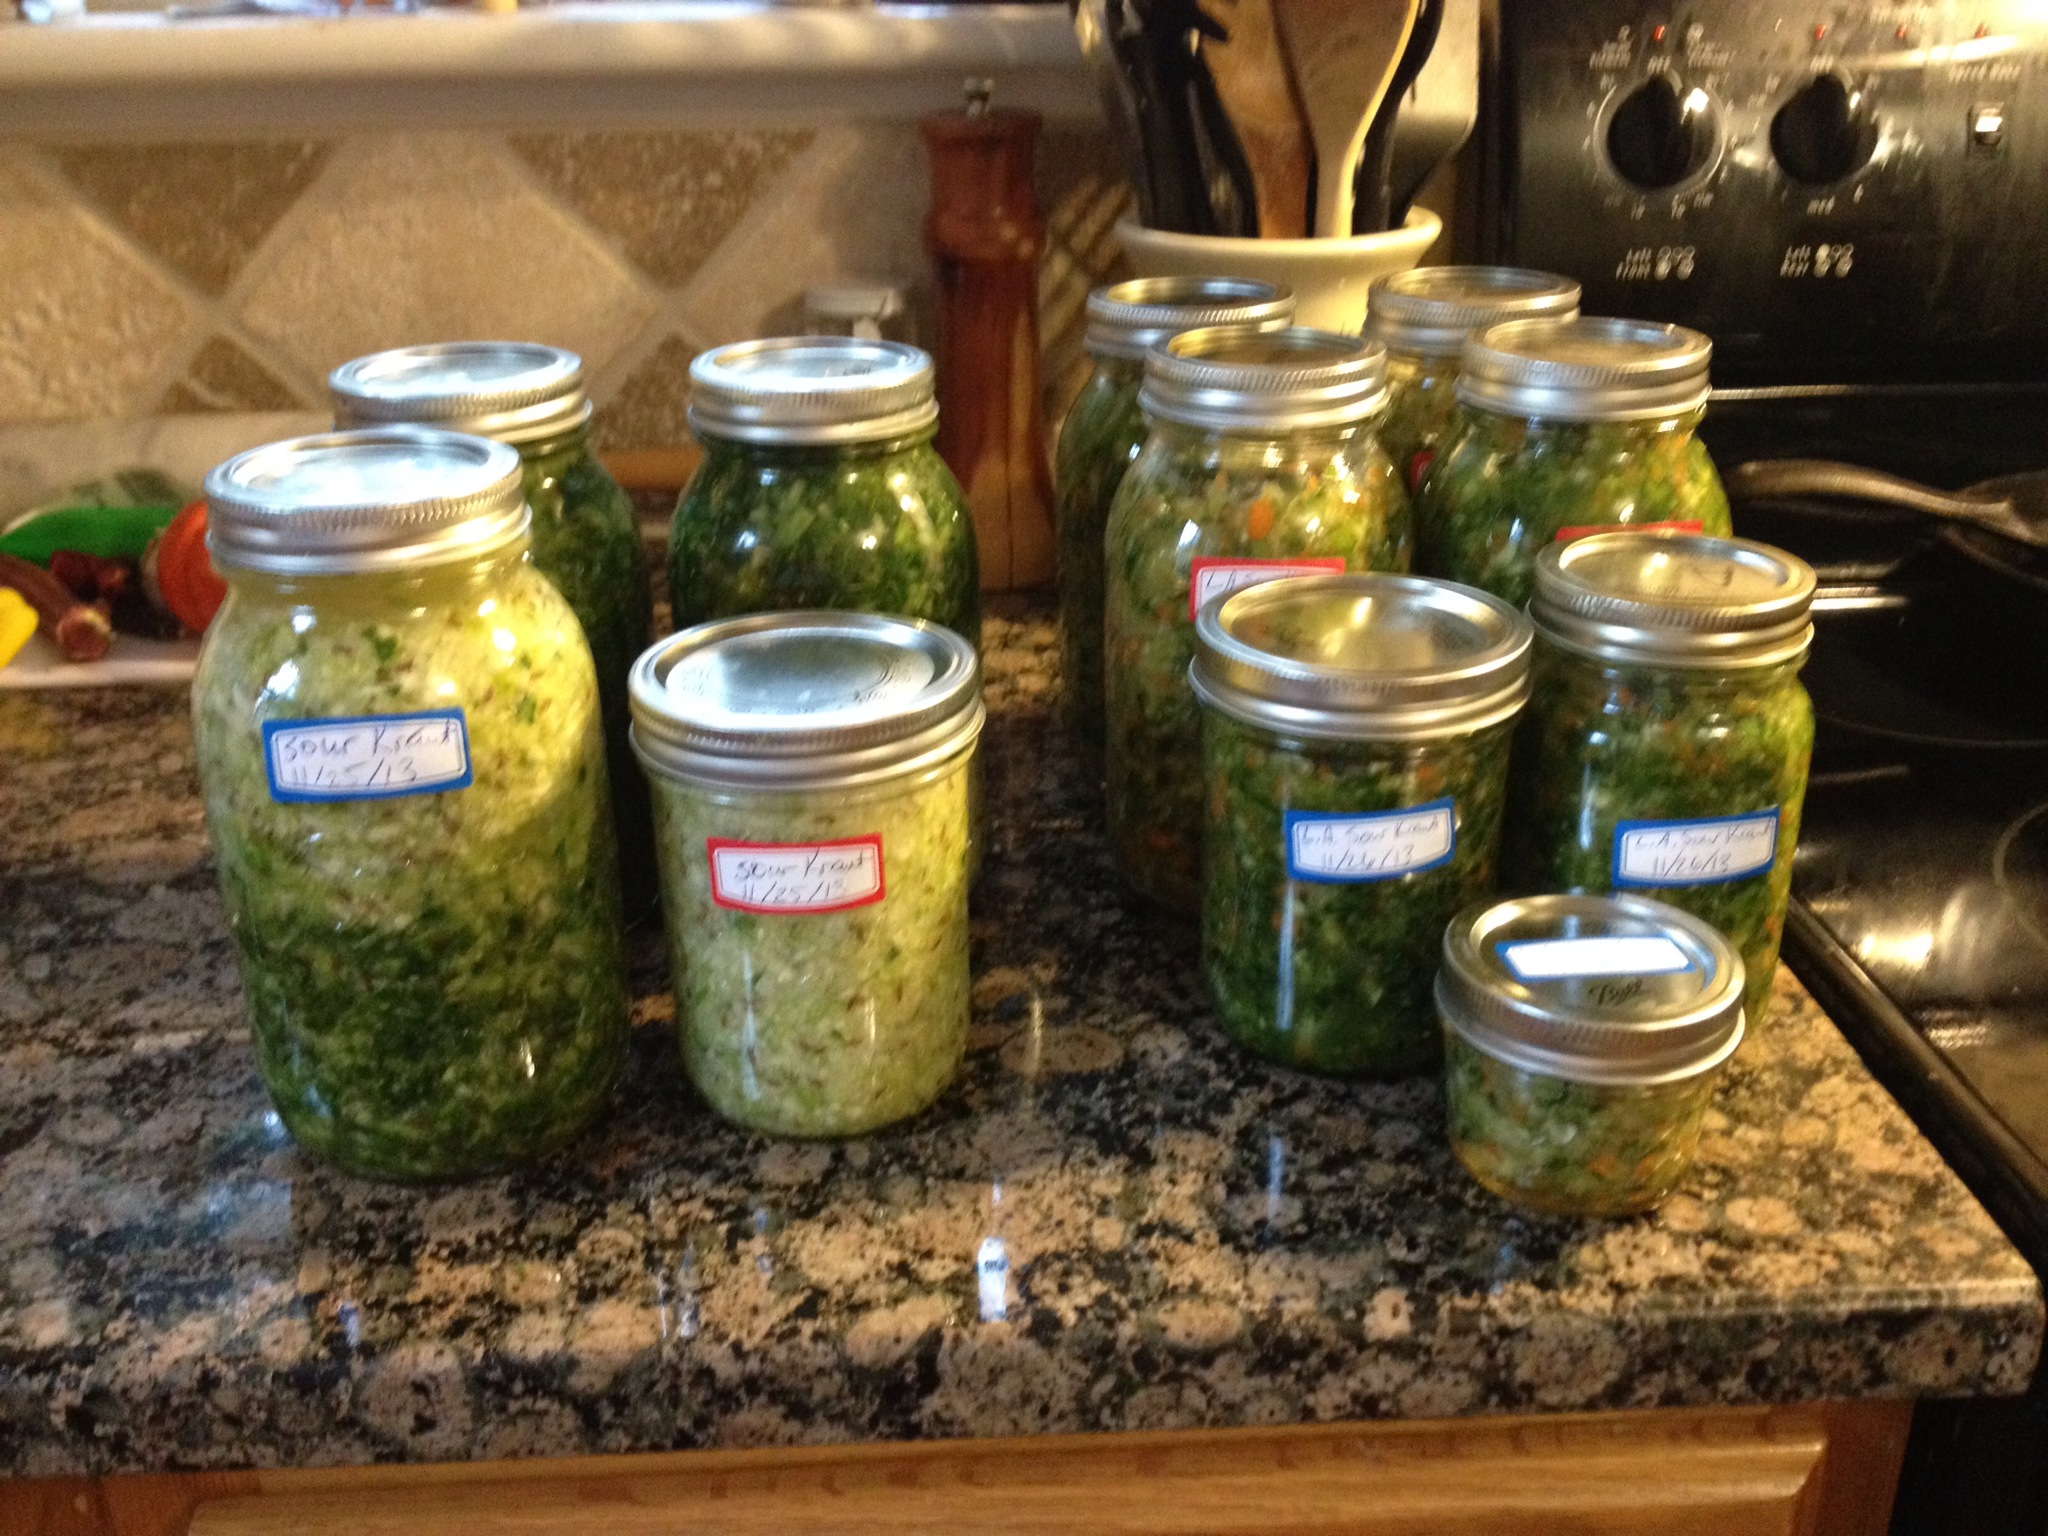
So, from a half-gallon of cream, three heads of cabbage and a few more minor ingredients, you can enjoy around 16 Tbsps of fresh butter, around 2/3 cup of fresh cheese, and nine quarts of sauerkraut! I still have one quart of whey left. I think I’ll get some more cabbage or something else to ferment for the winter.
UPDATE (5/10/15):
I made a LOT of fermented veggies since that first experiment making sauerkraut. I have come to prefer to fermented veggies without the whey. Whey is a great booster for folks fermenting veggies in the far north, like Maine or Scandinavia, but for where I live in the American South, it is unnecessary. The whey speeds up the time it takes to get fermentation started, but here in South Carolina I usually start seeing bubbles form after 12-24 hours (depending on the temperature and the particular vegetables being fermented). Another reason I’ve stopped using whey is that it imparts a flavor that I am not very fond of. In addition, I find that the time I listed, 3 days, isn’t really long enough for the veggies to ferment for my taste. I now leave things fermenting from one week to two months. You can start tasting your ferment after three days, if you’d like and keep trying it every day or two until the flavor is where you want it, then put it in the fridge to slow it down. So get to a farmers market (or better yet, your garden), grab some fresh veggies, and ferment them!